Altering ready-to-wear clothes for a better fit
Last updated: June 3, 2026 · about 8 minutes
Most clothing is cut for an average, so a garment that is close in the shoulders or chest can still be long in the leg or loose at the waist. Three alterations — hemming, taking in a seam, and shortening sleeves — handle a large share of these mismatches and need only the basic kit.
Measure and mark first
Try the garment on with the shoes and layers you will actually wear it with, since both change the right length. Pin the new line while wearing it, or have someone help, then mark it with tailor's chalk before removing the garment. Note both measurements if you mix units — Canadian rulers and patterns often carry centimetres and inches on the same edge.
Order of work
Always open seams with a seam ripper rather than scissors, press each fold before stitching, and sew a test line on a scrap of similar weight first. Pressing does as much for a clean result as the stitching itself.
Hemming trousers
The most requested alteration. Decide whether to keep the original finish or fold a new hem:
- Set the length. Fold the leg up to the marked line and pin all the way around, checking both legs match.
- Open and press. Remove the original hem with a seam ripper, press the old crease flat, then press the new fold.
- Trim if needed. Leave enough fabric inside the fold for a clean turn; trim only the excess.
- Stitch. Use a slip stitch by hand for an invisible finish, or a machine straight stitch where a visible line is acceptable, such as jeans.
For denim, keeping the original topstitched hem and re-attaching it preserves the faded edge; this is worth doing on jeans where a fresh hem would look obviously new.
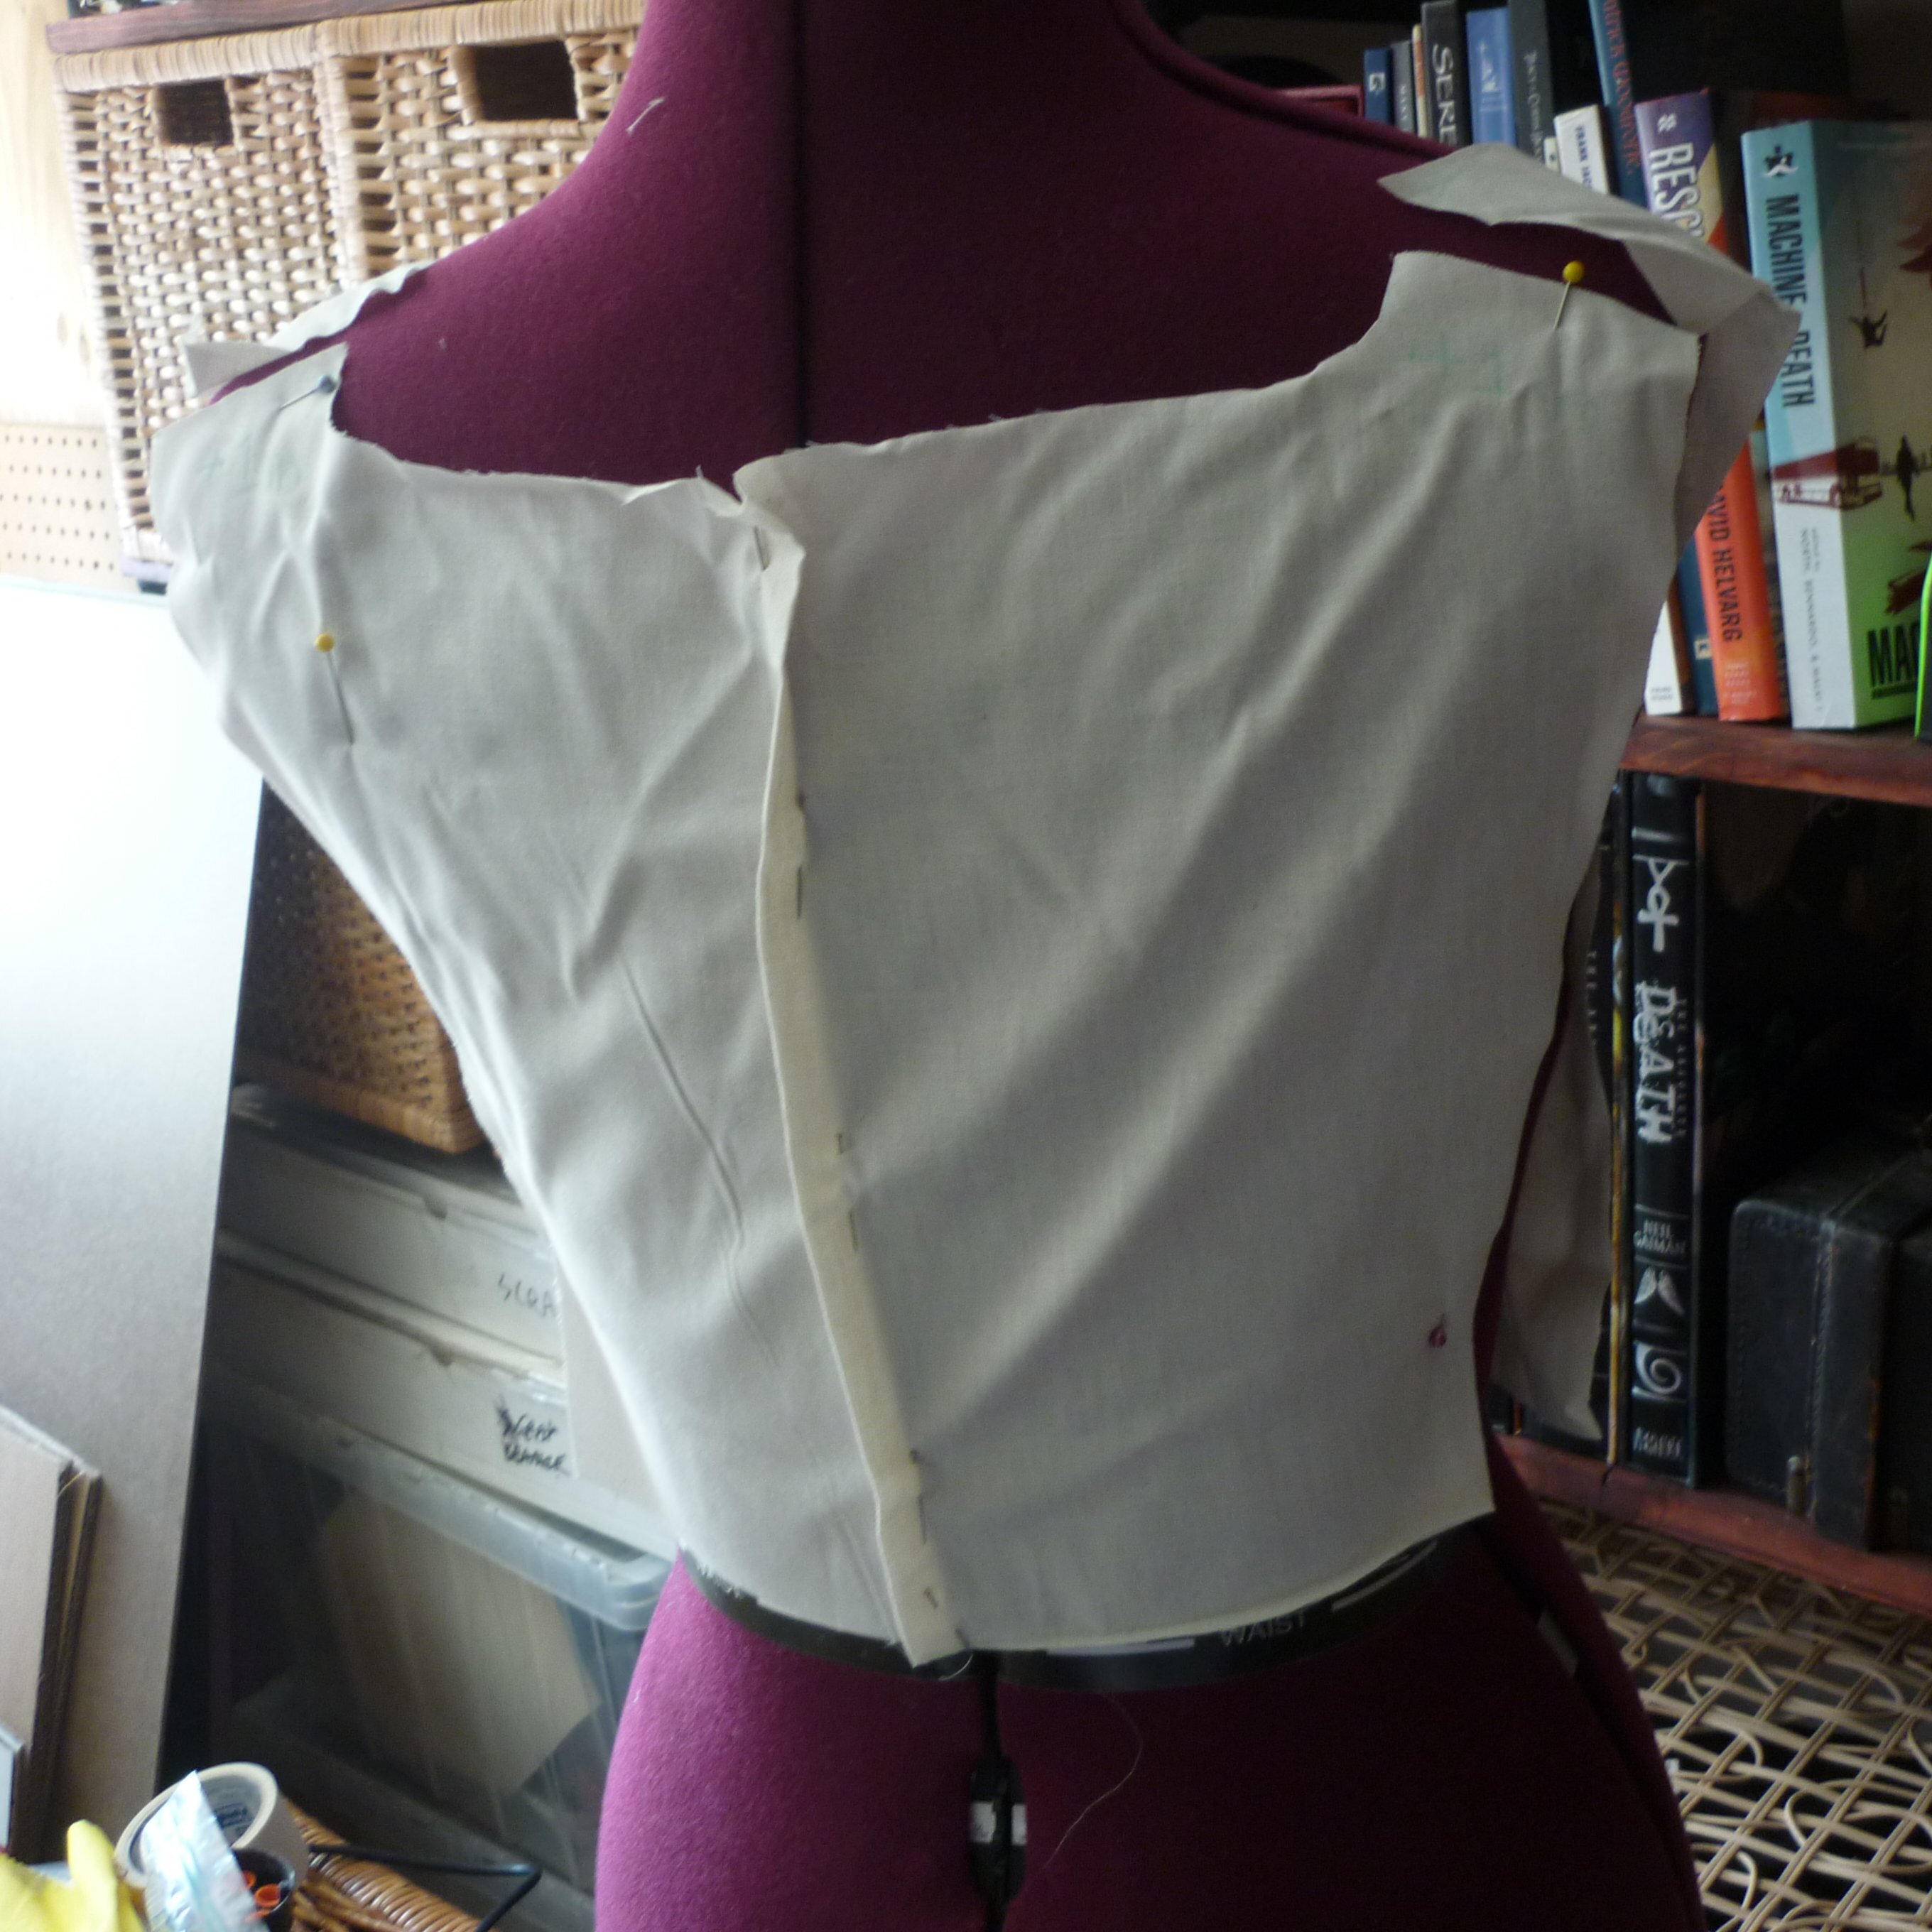
Taking in a side seam
When a shirt or dress is loose through the body, the side seams can be brought in:
- Turn the garment inside out and pin a new seam line, tapering smoothly into the existing seam above and below the loose area.
- Try it on inside out to confirm the fit before sewing.
- Sew the new line, check the fit again, then trim the excess and finish the raw edge to stop fraying.
Take in both sides by the same amount so the garment stays symmetrical. Small adjustments of a centimetre or two per side are usually enough; large changes can distort armholes and pockets and are better left to a tailor.
Shortening sleeves
Plain sleeves without a placket or cuff are straightforward: mark the new length, allow for the hem fold, open the old hem, press, and re-stitch with a slip stitch. Sleeves with a buttoned cuff, a vent, or shirt plackets are more involved because the cuff has to be detached and re-set — on tailored jackets this is one of the alterations most people send out.
What to leave to a professional
| Alteration | Reasonable at home? |
|---|---|
| Hemming trousers or a skirt | Yes |
| Taking in a straight side seam | Often |
| Shortening a plain sleeve | Often |
| Reshaping a tailored jacket | No — tailor |
| Altering at the shoulder | No — tailor |
| Lined or structured garments | Usually tailor |
For terminology and an overview of the trade, the clothing alteration reference page is a useful starting point. The techniques here build directly on the hand stitches and machine setup guides.